Easy composting for all
Easy composting for all
Don’t know where to start with composting, don’t have the space, or just want to supercharge what you already have? Well, don’t worry, I am here to help.
Food waste is a big problem, households in the UK alone are responsible for 6.6 million tonnes of wasted food. There are lots of things we can and should do to reduce including giving zero-waste cooking a go. But the average person won’t be able to eliminate all food waste, so the next best thing is to compost it yourself.
I know it is intimidating, especially when you have small children, a tight budget, little room… my excuses went on and on. However, once I stopped procrastinating and properly looked into it, I found it wasn’t all that difficult and there are many ways to do composting no matter your budget or space. So I’m here to help and pass on my experience.
There are 4 main ways to “do” composting that are suitable for people at home:
EMO Composting (bacteria composting) | Worm Farm Composting (Vermicomposting) | Tumbler Composting | Open-air Composting | |
Summary | Effective MicroOrganisms (EMO) uses bacteria. A common product is Bokashi. | Two or more stacked boxes that use worms to aid the composting process. | A rotating drum. | |
Use Inside |  |  |  |  |
Use outside |  |  (including balconies) |  (including balconies) |  |
Effort | Low | Low | High | Medium |
Difficulty | Very Easy | Easy | Moderate | Moderate |
Fruit and vegetables |  |  (small amounts of citrus and onion) |  |  (small amounts of citrus and onion) |
Coffee Grounds/Filters/Tea bags |  |  |  |  |
Dairy |  |  |  |  |
Bread/Rice/Pasta |  |  |  |  |
Fish/Meat/Fats/Oils |  |  |  |  |
Newspaper and cardboard | Small amounts |  |  |  |
Untreated wood ash/ sawdust |  |  |  |  |
Garden waste |  |  |  |  |
Time to compost | Fast: 4-6 weeks | Moderate: 2 to 4 months | Fast: 3-6 weeks | Slow: up to 12 months |
Cost | £60 for a 2 box starter + about £40 per year for the “bran”. | £10 (make your own) – £65 | £80 – £150 | Free – £30 |
Editors Pick | Skaza Bokashi Organko | Original Organics Deluxe WORMERY KIT | SQUEEZE master Dual Chamber Compost Tumbler | Make your own |
EMO Composting
This sounds complicated but is actually one of the easiest to do. One of the most widely used form of Effective MicroOrganisms (or EMO to its friends) is Bokashi. Bokashi kitchen composters allow you to compost all your food waste indoors. This form of composting is faster than a traditional garden compost pile and can handle any food waste. You simply chuck your food waste into a fully sealed container and sprinkle the all-important “Bokashi Bran” over it before sealing the container. It takes 4-6 weeks to turn into useful compost but you get “compost tea” out more regularly. You can dilute and feed your plants with the compost tea, it is also apparently good for unblocking drains – but I’ve not tested that yet.
Cost:
You can pick up two bin Skaza Bokashi composting sets with a starter pack of bran for around £60. You’ll also need to factor in replacing the Bokashi bran, this will come to about £40 per year.
Tips:
Get two containers – when one is full you can leave it to sit while you fill the other.
Line the container with newspaper for easier cleaning.
Press down the waste firmly as the bacteria require a low oxygen environment.
Worm Farm composting
Worm composting is exactly as it sounds, it uses worms to break down food waste and other organic material into something called worm compost or vermicompost, you’ll also get a liquid called “worm tea” which is a great nitrogen-rich fertiliser for your plants. This method of composting can be small so pick the right containers for your space. The basic setup is a tower of at least two compartments. A lower area collects the liquid (worm tea) and the upper area is where the kitchen waste goes and the worms hang out.
The worm farm works best at temperatures between 18-25℃ so work best when kept in your kitchen, shed, or garage. The worm farm should be odour free but can give off bad odours if you neglect the worms or feed them things like dairy.
Cost:
You can get a ready-made kit like this Original Organics Deluxe Wormery kit, which takes all the thinking out of creating your wormery. Or you can create your own for less than £40.
If worm farm composting sounds like a thing for you have a look at this article for more information.
Basic compost recipe for
For both tumbler composting and open-air composting you need to get the nitrogen and carbon levels right. The lingo used by composting experts is “green” waste to mean the high in nitrogen stuff and “brown” waste to mean the things high in carbon. But don’t panic, this sounds more complicated than it really is, all you need to do is follow this basic recipe and you’ll get great results:
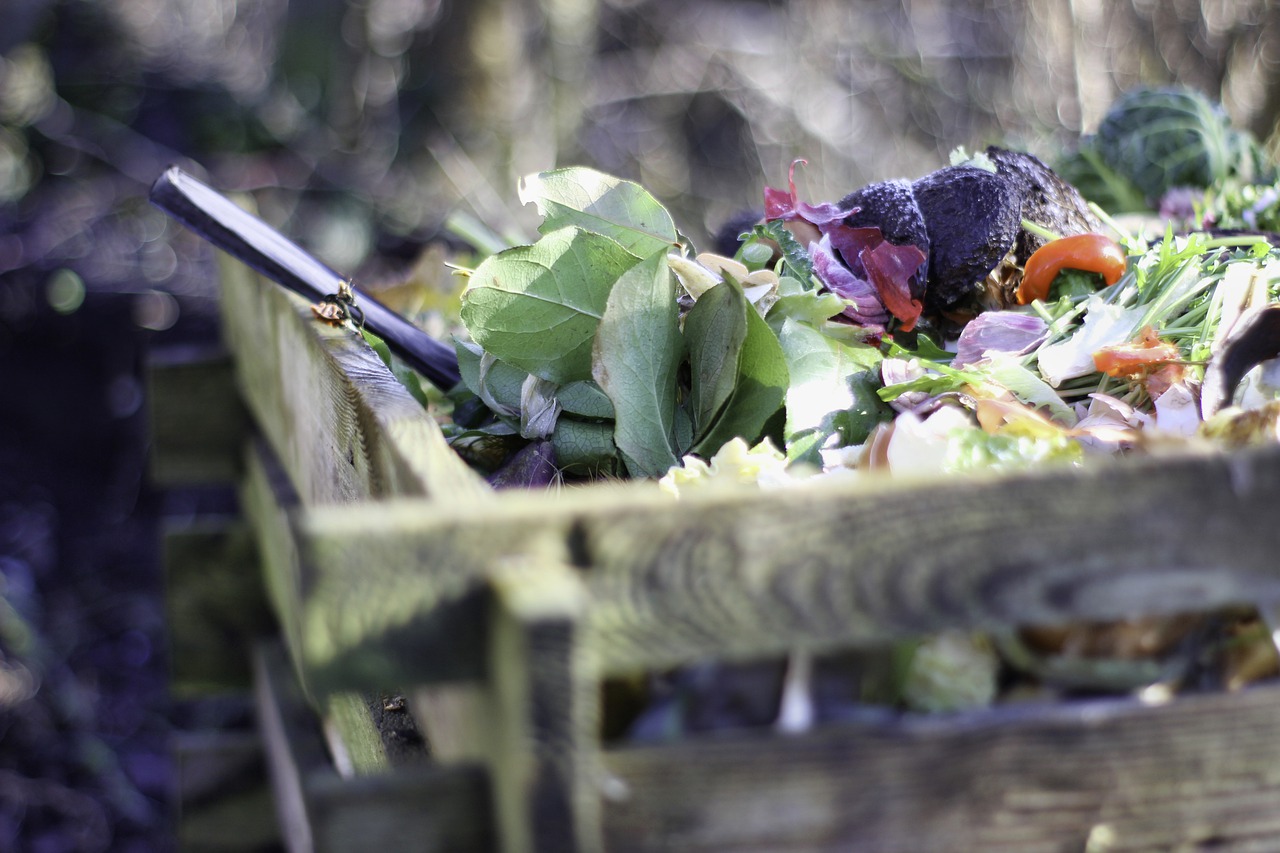
- 1-2 parts Greens – wet/fresh ingredients (high in nitrogen) such as fruit & vegetable scraps, fresh grass, coffee grounds, tea leaves (don’t use tea bags unless you know they don’t have plastic in them).
- 3 parts Browns – dry ingredients (high in carbon) such as shredded newspaper, dried leaves, dried grass, cardboard, or straw
- Oxygen – the bacteria that break down your compost pile require an oxygen rich environment. Turning the compost regularly achieves this. It reheats the contents and speeds up the composting process.
It isn’t the end of the world if you don’t get the levels quite right, it will just mean that the composting process takes a bit longer.
Here are 5 things you should add and 5 things you should never add to your compost.
Tumbler Composting
This is a great system if you have a lot of green and brown waste to get through and are relatively strong as you’ll need to turn the drum every day or two. You can get drums that are fairly compact so work in small gardens or balconies. The turning aerates the compost and provides that all-important oxygen.
Tumbler composting is faster than open-air composting but generally costs more and the compost that comes out of a tumbler has fewer nutrients than compost from an open-air composter. So go for a tumbler if you have a small outside space and/or you have a lot of green/brown waste to compost, otherwise I’d go for a compost bin or bay.
Cost:
Tumblers tend to be an expensive way to compost but you can pick up a decent one for about £80. The SQUEEZE master dual chamber compost tumbler is a nice one that has the benefit of two sections, so when you fill one up you can leave it to do its composting thing and add new material to the other side.
Open-air Composting
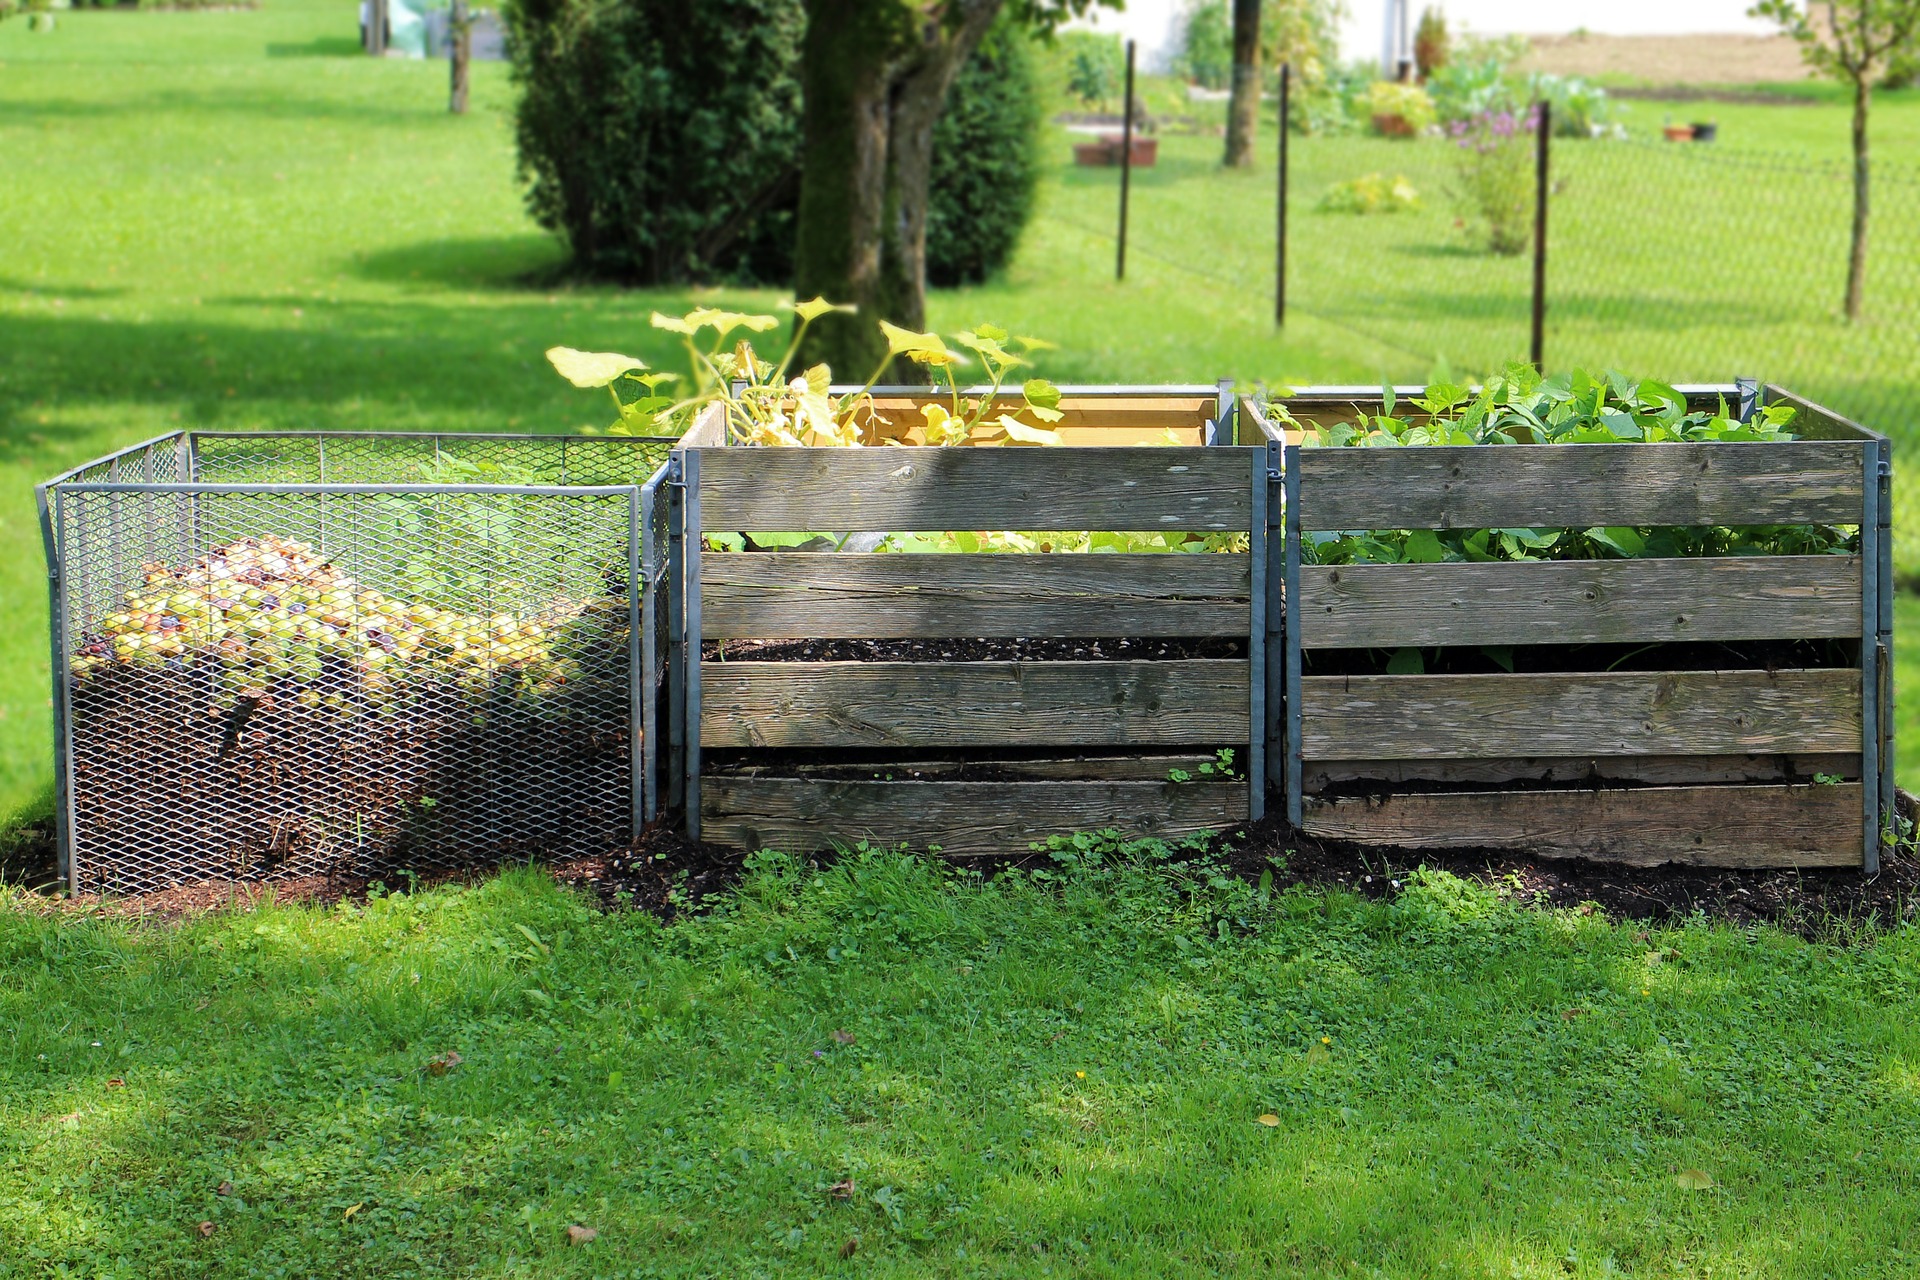
Open-air composting is traditionally just a pile of green and brown matter in your garden. This could simply be a pile somewhere but you often contain this pile in a bay or bin. Other than the price range and look of your compost pile, the main thing to consider before buying or making a bay is, how you’re going to turn the pile to give it the air. You can get relatively small footprint compost bins but their small size makes it tricky to turn your compost.
Cost:
Compost bays can be made from anything you get your hands on, for example, a few pallets, so can be free or you can buy a fancy modular one. Some councils provide the bays/bin for free so check with them before spending any money.
5 things you should never put in your compost
5 Things you should never put in your compost
Are you interested in starting a compost pile but are overwhelmed by all the options, or is your compost not performing as you’d hoped? Well, don’t worry, I am here to help.
Compost is amazing for your garden because it is so rich in nutrients and using your own compost can save money and reduce waste. Although it can seem daunting to start with, once you get through all the waffle and jargon, the process is really simple and forgiving – you can check out this article to help you start composting whatever your budget or space.
5 Worst things to compost
1. Tomato Plants and Foliage
Tomato plants are easy to grow which makes them the most widely homegrown vegetable, but they are also one of the most easily diseased. And this disease can easily spread throughout your compost pile. Most home compost piles don’t reach high enough temperatures to kill the pathogens and spores so they’ll be laying wait to transmit to your plants when you use the compost.
What to do with tomato plants
Option 1: Put the effort in and compost them yourself – In order to safely compost potentially diseased plants, it is crucial the pile is hot: between 55°C and 77°C. This takes more work than most are willing to do, but if you are willing, then there are plenty of articles out there to help. This one talks specifically about composting tomato plants.
Option 2: Put them in the council green bin.
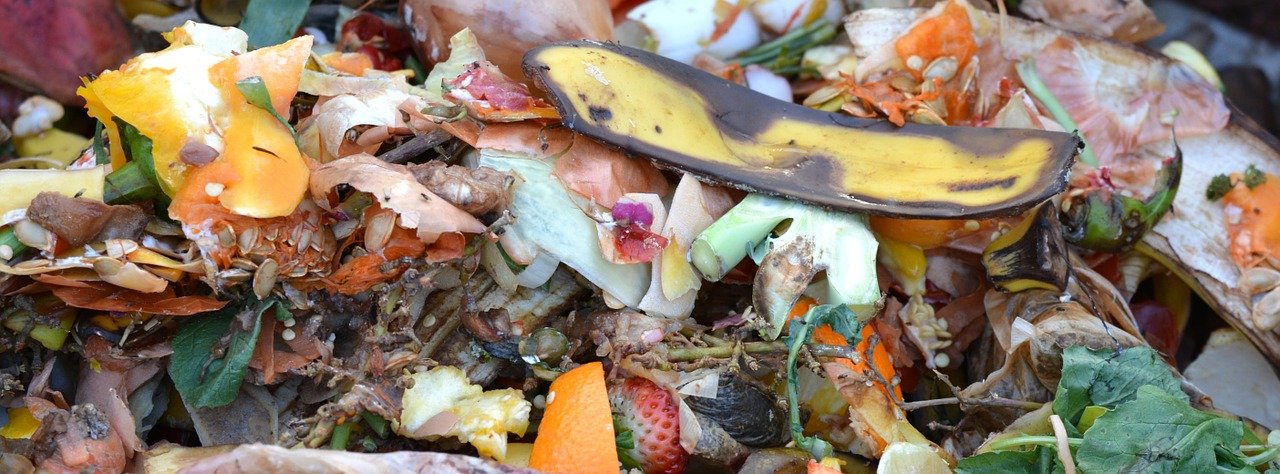
2. Fish, meats, fats, and oils
By adding meat, fats, and oils to your compost you are going to attract the unwanted attention of pests and cause your compost pile to smell bad. All while slowing your pile’s decomposition right down! The reason the decomposition grinds to a crawl is that bacteria that do most of the work in a compost pile are aerobic. But, the bacteria that break down animal products are anaerobic.
What to do with meats, fats, and oils
Option 1: Try an indoor approach with a kitchen composter. You can put any food waste in and it works faster than a traditional outdoor compost pile. The Skaza Bokashi are good (I’m in the process of testing them now and will have a review up). They are made from recycled material and create compost tea which can be used as fertiliser and a natural drain unblocker. The solid material left in the bucket is an amazing compost base that is safe to add to your compost.
Option 2: Put them in the council food waste bin.
3. Carnivourus animal and human poo
Just no! Carnivorous animal and human faeces can carry harmful pathogens, parasites and infectious diseases which you don’t want to be spreading around your garden and certainly not getting anywhere near your vegetable patch.
Poo from herbivores, like horse, rabbit, cow, and chicken are safe to add.
What to do with all the poo
I own a dog and the amount of mess to clear up is astonishing. I am currently using bags, as these are the easiest but it is on my list to reduce the waste I am creating. One thing I’m considering is creating a DIY dog poo composter, let me know your ideas and experiences.
4. Plasic-coated paper
Unfortunately, some paper is coated with plastic to make it bright, colourful, and glossy. This plastic coating won’t decompose and may also have toxins that harm your plants.
What to do with plastic-coated paper
First, try reuse, magazines can be passed onto friends or sometimes places with waiting rooms are looking for second-hand magazines and books. Depending on how eagerly you’ve unwrapped your present, wrapping paper can be reused for future presents.
If you can’t reuse then repurpose it; my kids love using the pictures in magazines to create art.
5. Treated ash, sawdust, lawn cuttings
This includes painted wood, stained wood, varnished wood, pressure-treated wood, charcoal briquettes with additives, and lawn cuttings that have had weed, feed or fertiliser. The chemicals and herbicides can stay in the compost and negatively affect your plants’ health.
Bonus – 3 things you might not want to add
These things are completely bad for your compost but are worth considering before adding.
Citrus Peels and Onions
If cut up small they compost fine – all be it slower than other organic materials – but the acidity can slow down decomposition and can upset the worms you hopefully have in your compost pile. So if you want to add them, do it occasionally.
Bread, rice, cakes, donuts, pastas, and dairy products
These will decompose fairly quickly but they will attract pests and make the compost pile smell. You can reduce this by burning them deep down and adding lots of brown material on top of it to “trap” the smell.
Seed cores
Before adding vegetable scraps to the compost pile consider removing the seeds otherwise, you may get vegetables popping up in unexpected places. I learnt this the hard way when some bonus butternut squash appeared in with my tomatoes!
How to make seed bombs
How to make seed bombs
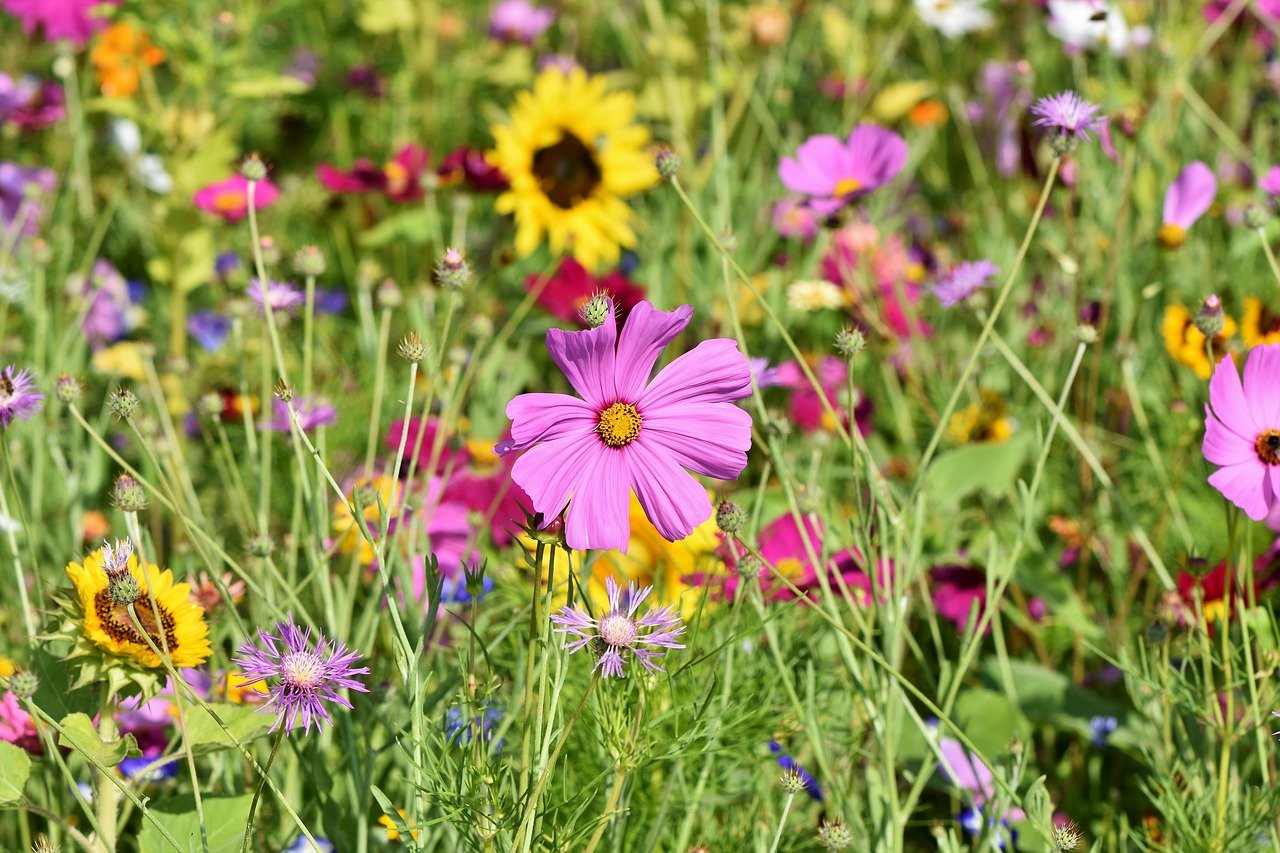
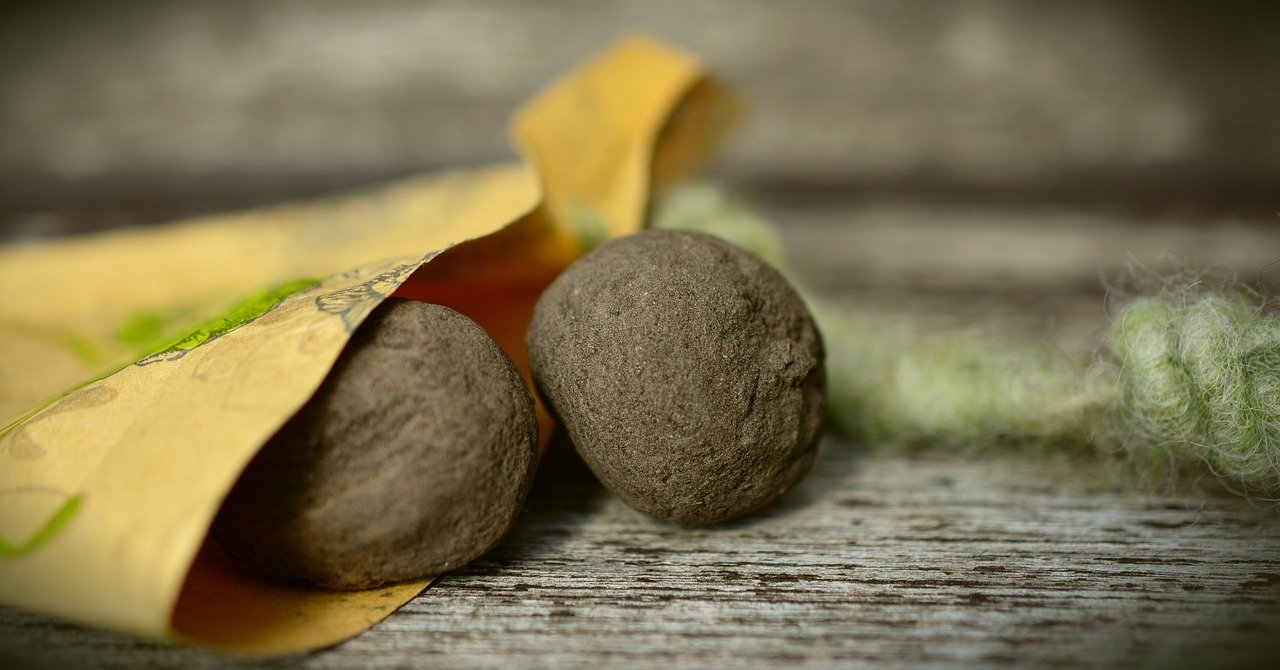
Seed bombs are great fun and are an easy way to sow wildflowers in your garden to attract all those lovely creatures.
While researching how to create a wildflower meadow I stumbled across the concept of seed bombs. They offer about the same germination success as hand spreading the seeds but their appeal is in the fun they bring. They also make it easier to get the seeds into hard to reach areas – provided your aim is up to it.
Seed bombs make great gifts and are a fun activity for the young and old. Seed bombing gardening projects can also be therapeutic and rewarding.
You can, of course, buy ready-made seed bombs but seed bombs are really easy to make so why not give it a go, I’ve even created a poster you can go through with your kids:
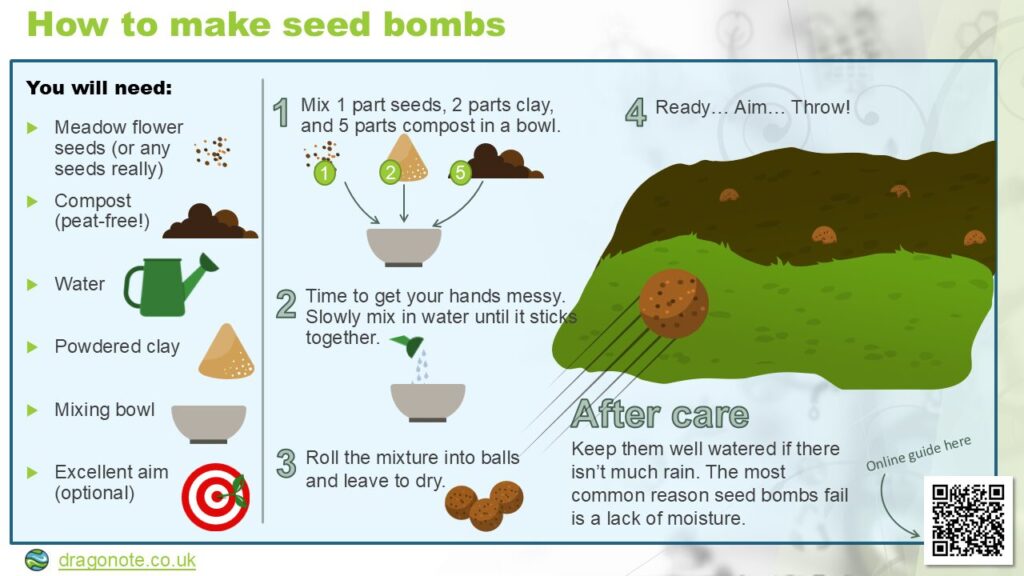
What you’ll need to create your seed bomb
- Seeds – these could have been collected from your garden or a seed mix you’ve bought.
- Peat-free Compost – you can always use your own compost.
- Powdered clay – you can find this in arts and crafts shops or if you have clay soil you can make do with that.
- Bowl
- Water
If you don’t already own some of the ingredients you can get a wildflower bee bomb kit that will provide everything except the water.
Method
- Mix 1 part seed, 2 parts clay, and 5 parts compost in the bowl.
- Slowly add water and mix with your hands. You don’t need the mixture really wet, just enough to stick it all together.
- Form the seed bomb mixture into firm balls (or whatever shape you fancy). My kids wanted to make different shapes so we pressed them into molds.
- Leave the mixture to dry.
Using your seed bombs
If your seed bombs are destined for others in the form of a gift then there is no more to do except prepare the gift, they will last longest if kept in a cool, dark dry place.
If on the other hand, you are keeping the fun for yourself, then the best time to throw your bombs is just before some rain, to give the seeds a good start – obviously, you can manually make it “rain” by grabbing a watering can or hose.
Throwing the seed bombs adds a nice bit of random – especially with my aim – which makes the resulting flowers look more natural but as a rough guild, you’ll need about 1 seed bomb per sq foot.
In the first few weeks make sure the seed bombs don’t dry out and then you should see seedlings within 2 to 3 weeks and flowers within 12 weeks.
3 easy steps to create a wildflower meadow
3 easy steps to create a bee-friendly wildflower meadow
Whatever your budget or meadow size, discover some easy steps to create a bee-friendly wildflower meadow and then keep it coming back year after year.
Do you love wildlife, want an easier life, and have a patch of garden in an open, sunny place? Then turn it into a wildflower meadow, it provides cover and food for wildlife, interest and colour from spring to the end of summer with all the wildflowers, and requires far less maintenance than a traditional lawn – yes you can put away that mower for most of the year and never apply lawn feed again!
You don’t need to convert a whole area, a wildflower meadow can exist next to a traditional law so the kids can still kick a ball about. Whatever the space you have, opening your garden to butterflies, dragonflies, bees, grasshoppers, and hedgehogs (just to name a few) helps your local biodiversity and gives you a wonderful space to spend time in – just imagine the soft grass under your feet and the peaceful sound of buzzing bees with the backdrop of butterflies flitting from flower to flower; doesn’t that sound idyllic?
Wildflower meadows like it rough
A little surprisingly, wildflowers require poor soil to thrive. If the soil is too nutritious then they are going to be swamped by other plants, especially vigorous grasses. A way to control the grasses and give your wildflowers a chance is by planting some Yellow Rattle. This is an essential meadow flower as its beauty hides a sinister (but useful) character. The Yellow Rattle’s roots tap into grasses and steal their nutrients, suppressing the grasses and therefore give more room for the bee-friendly wildflowers. It does such a good job that it is sometimes called “the meadow maker”. If it’s not already in your meadow mix then it can be added by sowing fresh seeds in the autumn (it requires temperatures below 5°C to germinate).
Step 1 – Choose the patch for your wildflower meadow
Before you get to work on your wildflower meadow and start welcoming all those lovely pollinators, like the bees, you need to decide where to make it. One of the first things to consider is the light and soil type. All meadow plants prefer open sunny spots with dry soil – damp soils will be ok but avoid extremely wet sites – so pick the positioning wisely. As well as the dampness of the soil it is worth considering whether your soil is Limey, Neutral, or Acidic as this will determine which flowers will grow best.
Step 2 – Choose the way to add the wildflowers
There are 4 main ways to establish wildflowers and rather nicely, 2 of them are best for lawns and 2 are best for bare soil.
Best for adding to existing lawns
- Say no to the mow – the “No Mow May” project was started to help bees and other insects, but leaving your lawn unmown for even longer and cutting it in the autumn can be the easiest way to establish a meadow. It will take several years but you’ll be suprised what can come up. You can always combine this with some of the options below to speed up the process.
- Plug plants – wildflower plugs can be added straight to an existing lawn and although they can again be planted almost anytime of the year it is best to plant them in spring of autumn. They are prone to slug and snail grazing so use some form of control such as egg shells. Here is how to plan the plugs:
- Cut the lawn nice and short and remove all the clippings to prevent nutrients being returned to the soil.
- Make holes about 15cm deep and 5cm wide. For a natural look, arrange the plugs in groups of 3-5 across the lawn.
- Water immediately. In the first six weeks they may require additional watering if there is a dry weather spell.
- For the first year keep the vegetation immediately surrounding the plugs short.
Best for adding to bare soil
Technically this can still be done within an existing lawn, you just need to take out sections of the lawn.
- Wildflower turf – if you want to cover a small area and want a low hassle solution this is a good option. The turf has the right mix of grass and wildflowers, all you have to do is clear the space as you would for any turf and then lay your new wildflower meadow. This method of meadow making can be done almost any time of the year but due to complications with moving the turf when in flower it is still recommended to do during spring or autumn.
- From seed – Seeds can be sown indoors to make your own plug plants (which can be added to an existing lawn) or driectly outdoor. You’ll need 4g-15g of seeds per square metre and check your seeds come from suppliers that source native British plants.
- Sowing outdoors: The best time to sow outdoors is August and September but it can go into October or the spring provided the ground is unlikely to freeze in the following weeks. It is best to sow seeds on bare ground (so not straight to a lawn) and if the ground is likely to be nutrient rich you might consider removing the top layer of soil. If you want to have a bit of fun while sowing the seeds try seed bombs.
Wildlife Watch have a nice info graphic to help: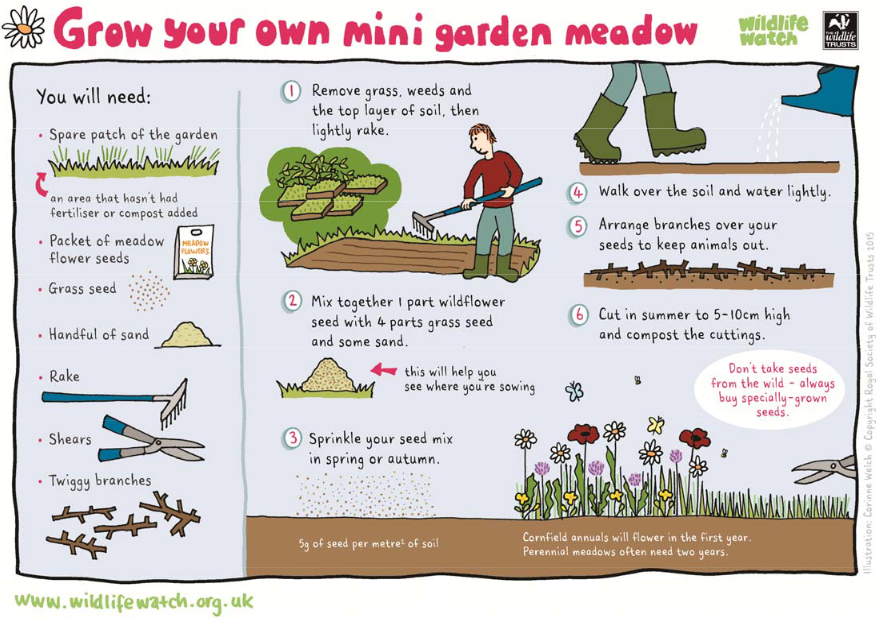
- Sowing outdoors: The best time to sow outdoors is August and September but it can go into October or the spring provided the ground is unlikely to freeze in the following weeks. It is best to sow seeds on bare ground (so not straight to a lawn) and if the ground is likely to be nutrient rich you might consider removing the top layer of soil. If you want to have a bit of fun while sowing the seeds try seed bombs.
Step 3 – Maintain your wildflower meadow
Once you’ve established your meadow with some wildflowers and grass, the maintenance is really easy. The basic pattern is to cut the meadow at the end of summer after most of the wildflowers have had a chance to seed, then again in the spring – that’s it, just two mowings!
As the grass will be tall you’ll need to use a strimmer or a scythe for the more adventurous. Remove all the cuttings to prevent the nutrients from returning to the soil and add them to your compost. If you add it to your main compost you might find wildflowers appearing all over your garden!
Advanced option
Not really that advanced. When you do the end of summer cut put the grass in rows and turn daily for around a week. This allows the seeds trapped in pods to escape. You can also move the cuttings to different areas of your meadow to spread the flowers.
I hope you enjoy your meadow, I’d love to hear about your experience in the comments.
5 Best things to compost

5 Best things to compost
Interested in starting a compost pile? Want to know the best things you can add that will make the process easy and create great compost. Then this article is going to help you.
Compost is known as “black gold” to the gardening world because it is amazing for your garden and free if you make it yourself. Composting cuts down methane and nitrous oxide, feeds your plants, and reduces your waste. Really it is a win win win situation. You can check out this article to help you start composting whatever your budget and space.
The basic “recipe” for compost gets you great results:
- 1-2 parts Greens – wet/fresh ingredients (high in nitrogen) such as fruit & vegetable scraps, fresh grass, coffee grounds, tea leaves (don’t use tea bags unless you know they don’t have plastic in them).
- 3 parts Browns – dry ingredients (high in carbon) such as shredded newspaper, dried leaves, dried grass, cardboard, or straw
Following this mix is going to get you most of the way there but there are some things you can add which will supercharge your compost heap.
1. Fruit and Vegetable scraps
Green material
This is one of the classics that everyone thinks of when wondering what to put in a compost heap and for good reason. They are a great source of nitrogen and like most things will decompose faster if cut into small scraps.
Tip: remove the seed cores before adding them to the compost heap. I learnt this the hard way when some bonus butternut squash appeared in with my tomatoes!
Bonus tip: discourage pests and flies by burying the fruit and vegetables under brown material.
2. Coffee grounds, filters, and tea leaves
Green material
I am a coffee lover, my wife is a tea lover so I make loads of this stuff. Coffee grounds are another great source of nitrogen and worms love the stuff too. If you use filters then throw these in too as long as they don’t contain plastic. Teabags are also ok to put on the compost heap if the bag is made from natural material like cotton and doesn’t contain plastic.
Tip: don’t add too many coffee grounds or tea leaves on at once. Make sure you mix it with plenty of carbon-rich material like paper, sawdust, dry leaves.
3. Paper products
Brown material
Most paper products can be composted but avoid plastic-coated paper. Paper and cardboard are low in nitrogen and high in carbon.
4. Wood Ash or Sawdust
Brown material
There are loads of good uses for ash and sawdust around the garden just make sure the wood isn’t treated, painted, or stained as the toxins will be harmful to your plants.
5. Eggshells
Neither brown nor green, more an additive
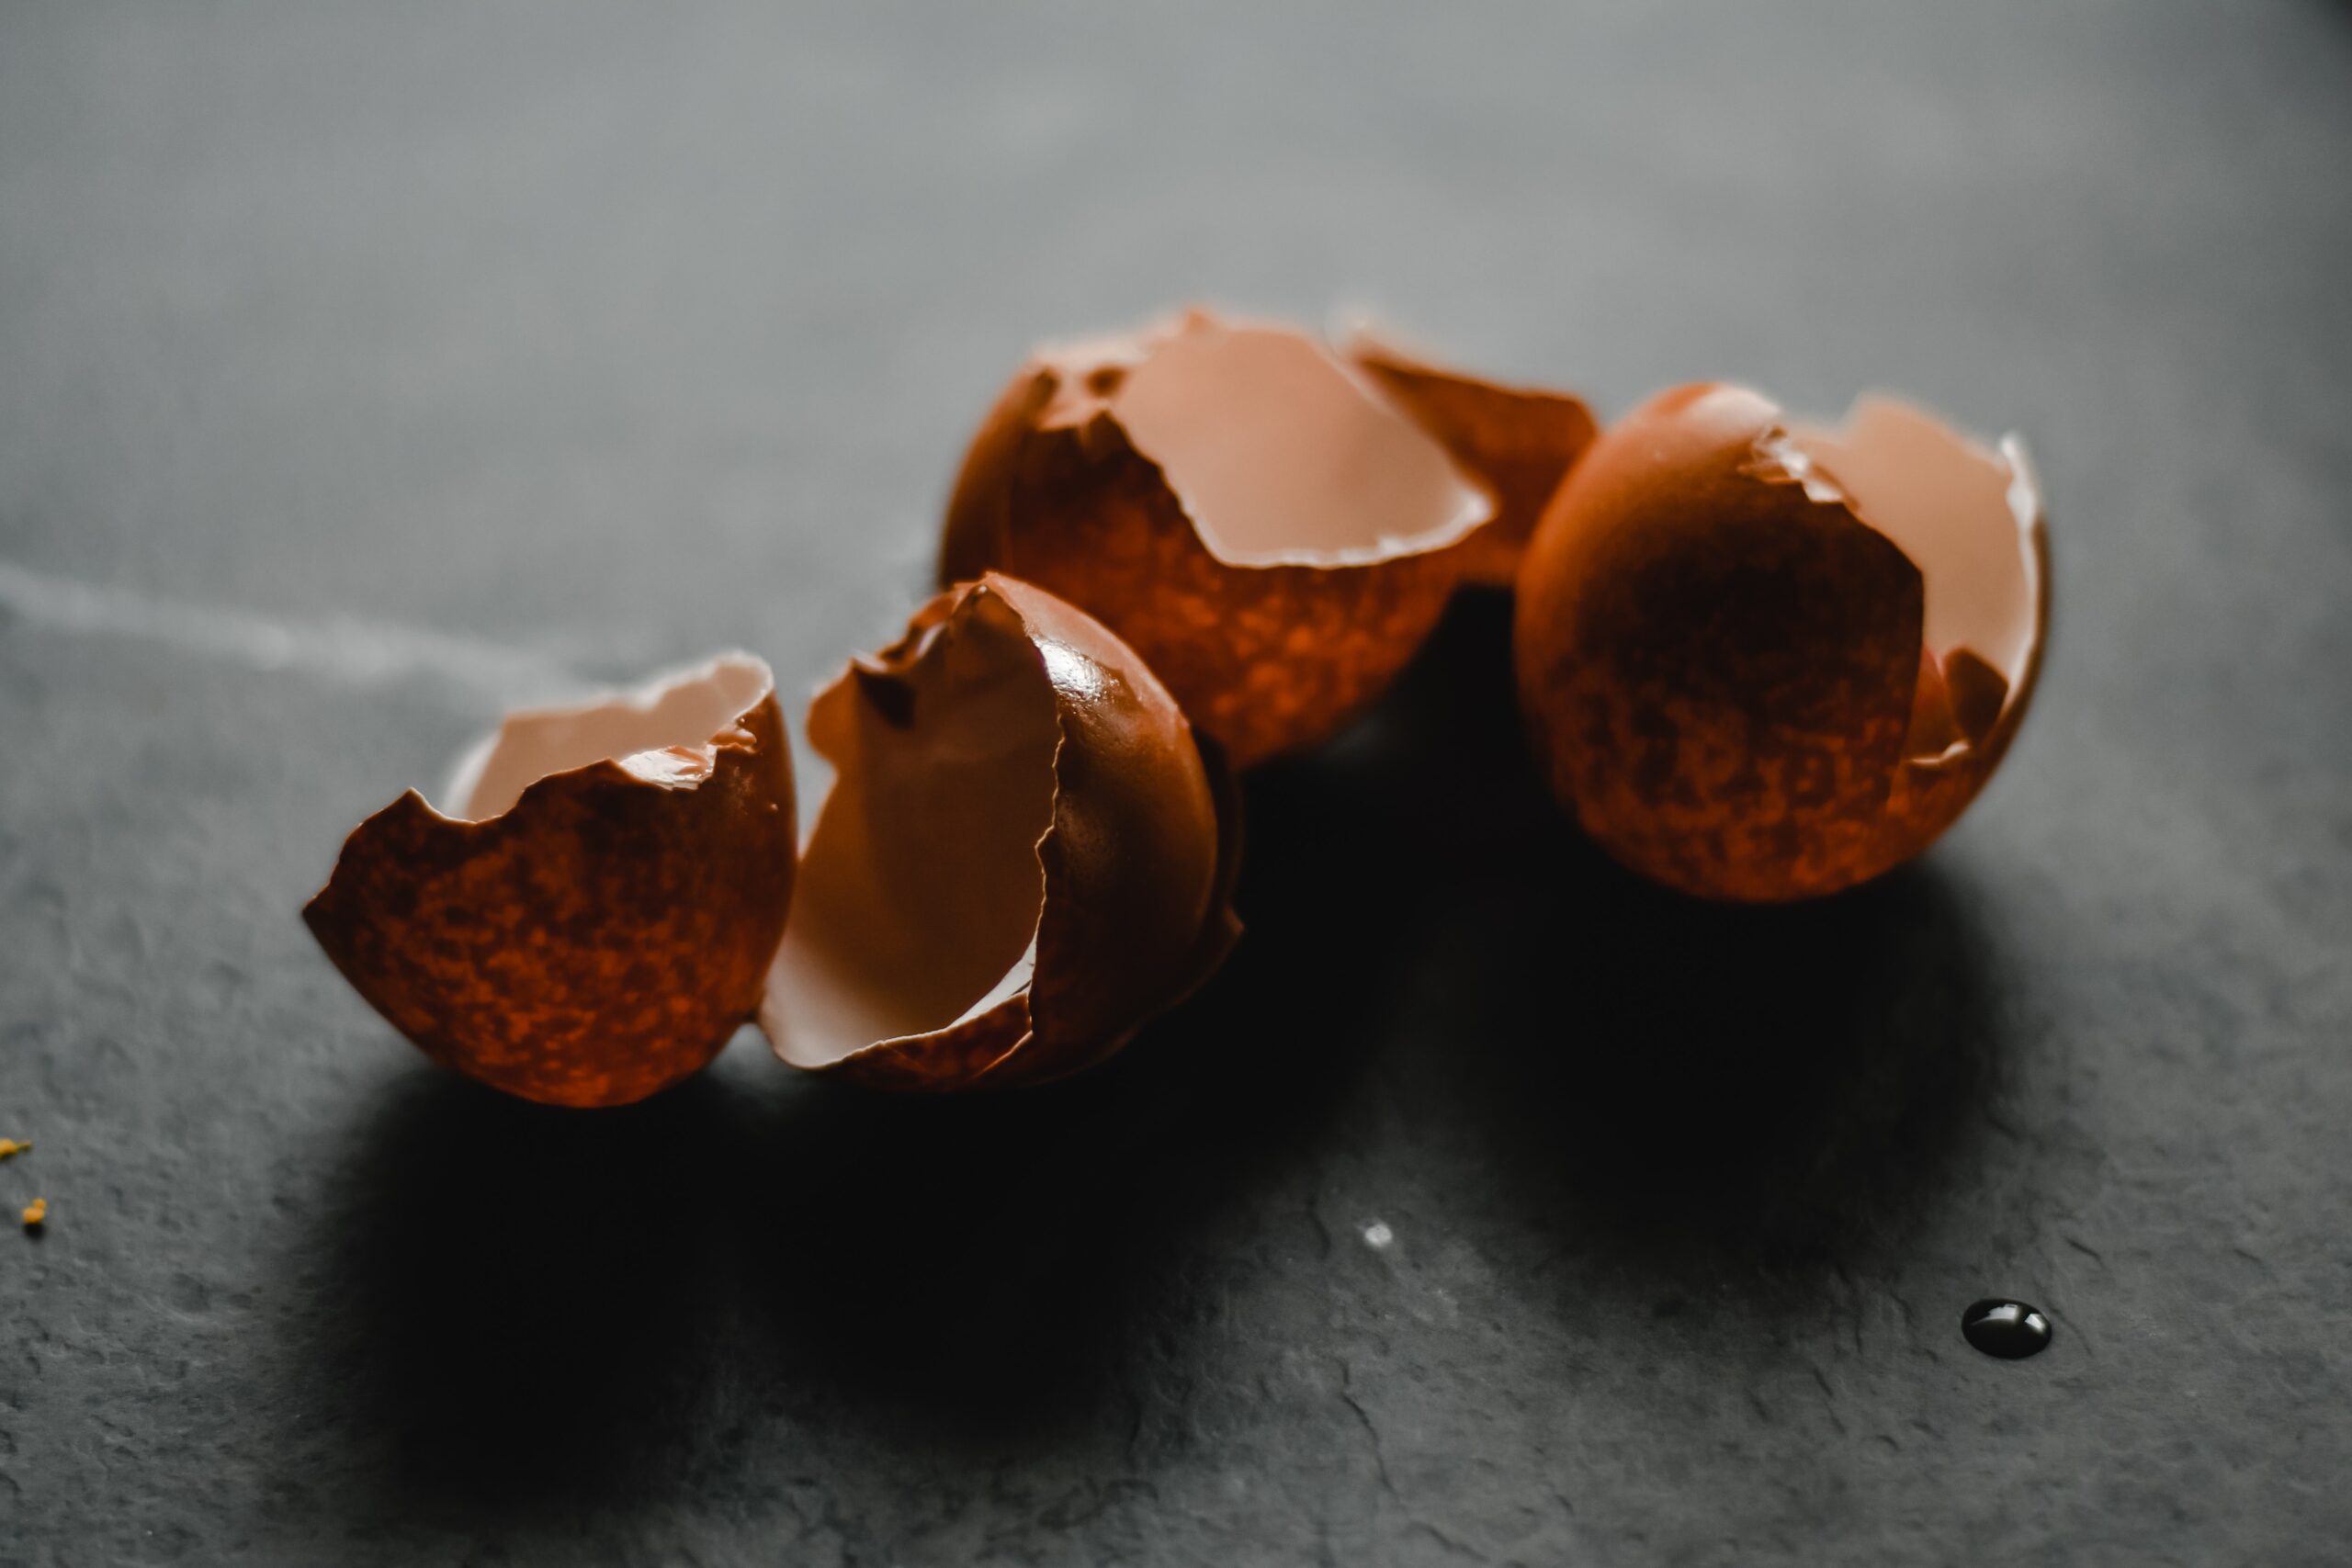
The main element present in eggshells is calcium but there is some protein and trace amounts of strontium, fluoride, magnesium, and selenium. So eggshells are a wonderful addition to your compost heap. The bonus is that you really can’t add too many eggshells to your compost heap (unless you run an egg farm) so you don’t need to worry about your balance when adding them. The only thing to consider is that if you just chuck them in the compost they will take years to break down so break them into small pieces first. This is the best way to prepare eggshells for composting.
How to compost eggshells
How to compost eggshells
Learn the right way to compost eggshells to get the most out of them that gets you free nutrients for your plants and free pest control
During the pandemic, more people than ever are saving grass cuttings and kitchen scraps for their compost bins and turning them into the “black gold” also known as compost. The benefits are huge, but for the uninitiated, it can seem daunting. The truth is it doesn’t have to be difficult and just following this basic “recipe” for compost gets you great results:
- 1-2 parts Greens – wet/fresh ingredients such as fruit & vegetable scraps, fresh grass, coffee grounds, tea leaves (don’t use tea bags unless you know they don’t have plastic in them).
- 3 parts Browns – dry ingredients such as shredded newspaper, dried leaves, dried grass, cardboard, or straw.
This mix is very flexible, you really can’t go wrong just keep it in mind as you’re adding things to your compost. I keep a box of dry ingredients next to the compost so I can add a couple of hand fulls whenever I chuck in the wet stuff.
What’s the best way to compost eggshells?
Eggshells go into my top 5 best things to compost, they are a great source of calcium and can be sprinkled directly on the soil for slug and snail control.
Eggshells however will take years to break down if you just throw them on the compost without a little bit of prep. These are the steps I follow:
- Give the eggshells a little wash – this isn’t critical but leaving them unwashed can attract unwelcome vermin and when washed they are easier to break up.
- Put the eggshells in an oven try and bake for 10 mins. – I just throw them in the oven when I’m baking something else so I’m not wasting energy.
- Once the eggshells have cooled then blitz them into a fine powder in a blender or mortar and pestle – if using for pest control aim for small sharp pieces instead of a fine powder.
- Add to the compost heap or or directly to the soil. – eggshells are particularly good for tomato plants with blossom end rot.
You can break the eggshells up without baking them first but the baking step makes it easier. When broken up the eggshells will be absorbed almost immediately rather than taking years to break down.
Other composting tips for beginners
- Mix the different materials, for example don’t chuck a huge bag of grass cuttings in one go.
- Don’t put meat, fish, or dairy into the compost head, this will help you avoid attracting rats. Another tip is to turn the heap regularly, it provides air to the compost to stop it smelling and will detter rats.
- If you don’t have a garden try a wormery instead. This is a stacking system of trays that you can buy ready made or have a go at making your own worm composter.
- I forget to actually use the compost so try locating the bin near your growing area.
- You need some moisture in the compost which shouldn’t be a problem as most green materials have loads of moisture but if you find your compost is getting a little dry then try soaking your cardboard/paper before you add it.
- Lastly don’t fret, you’re compost is very forgiving. If you don’t get the ratios quite right you’ll still end up with compost, it just might take a little longer.
